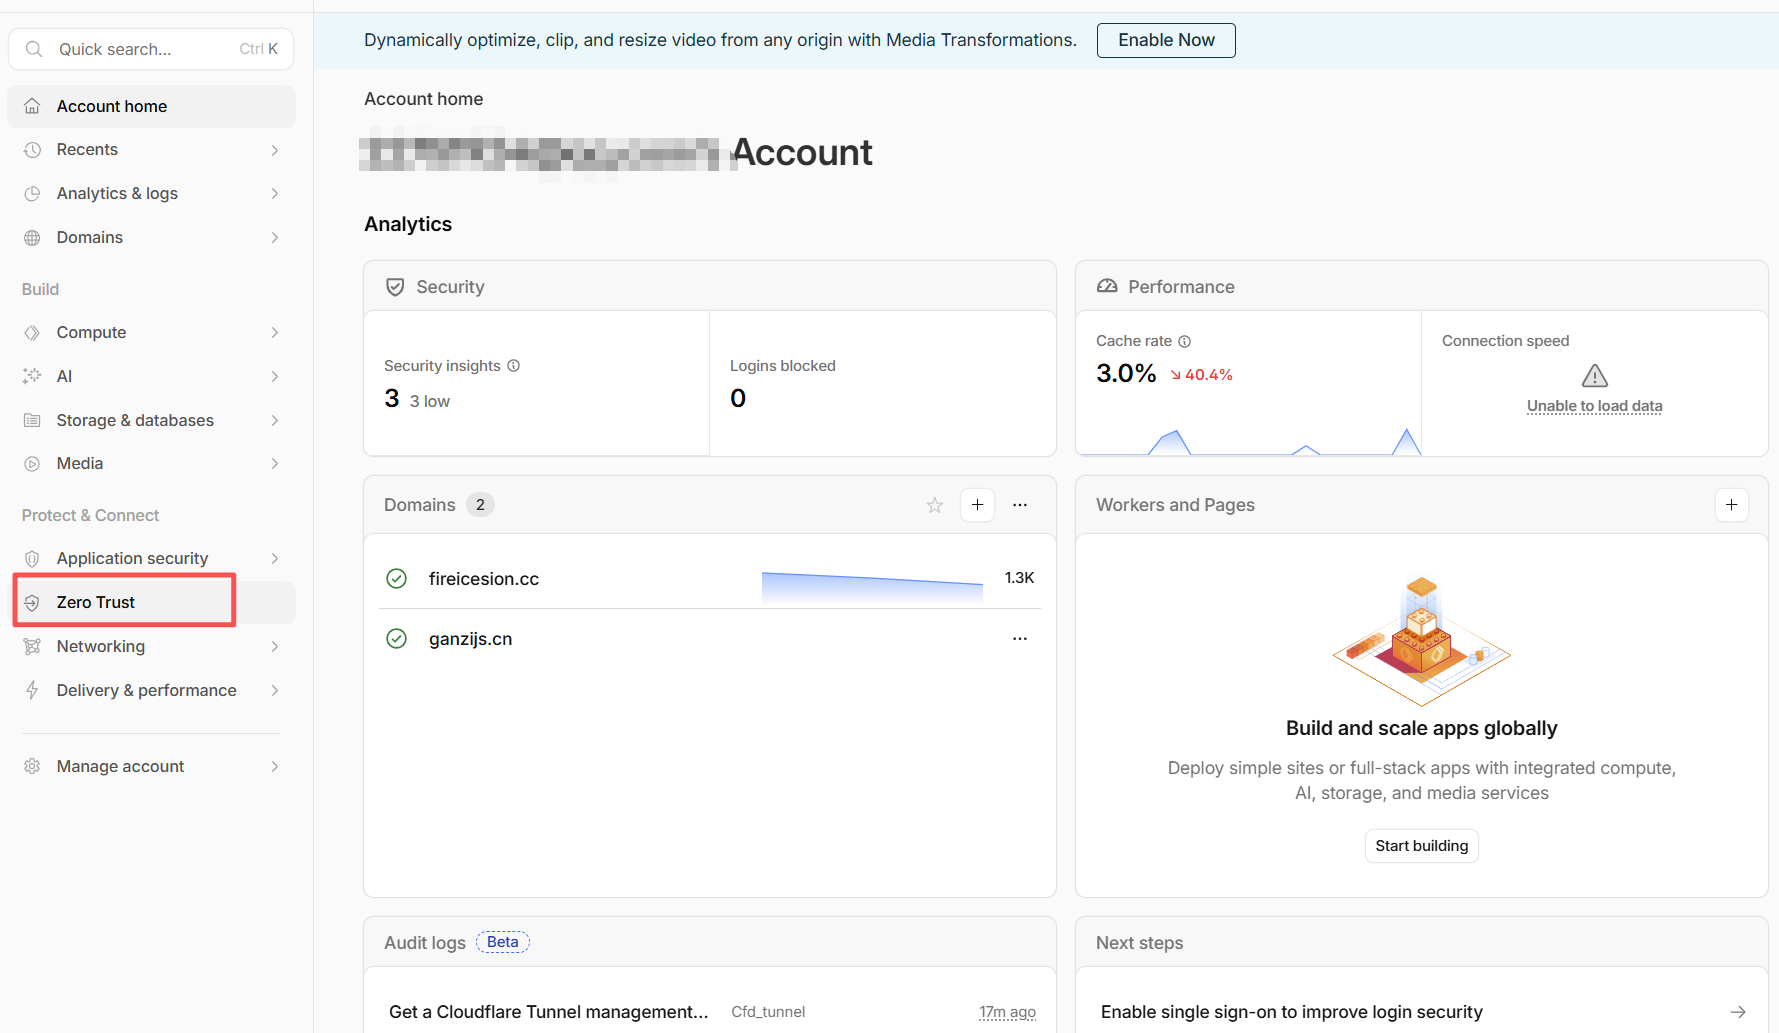
① Zero Trust 面板模式(会自动创建 DNS)
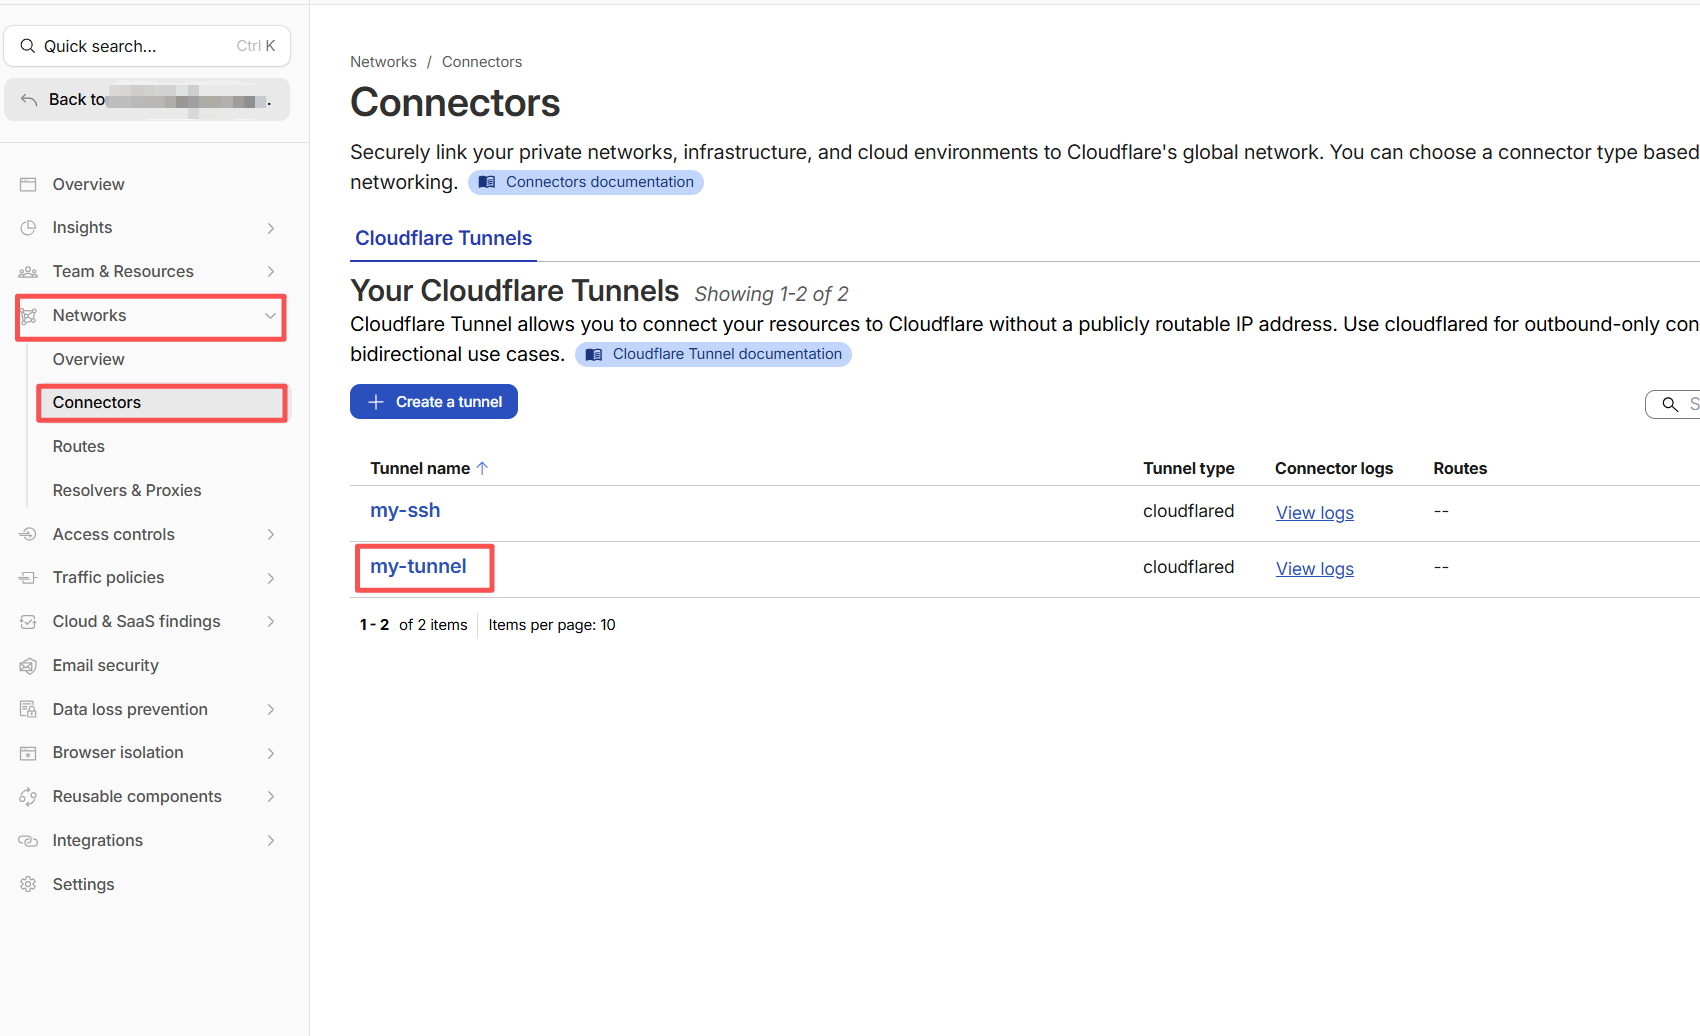
路径:Account home → 左侧菜单Zero Trust → 左侧菜单Networks → Connectors
这里是已经建立Tunnel页面,点击需要配置的Tunnel 名称,比如:my-tunnel进入my-tunnel的配置详情页面
在中间的tab菜单中点击:Published application routes
在这里创建或修改域名和本地服务的映射关系。
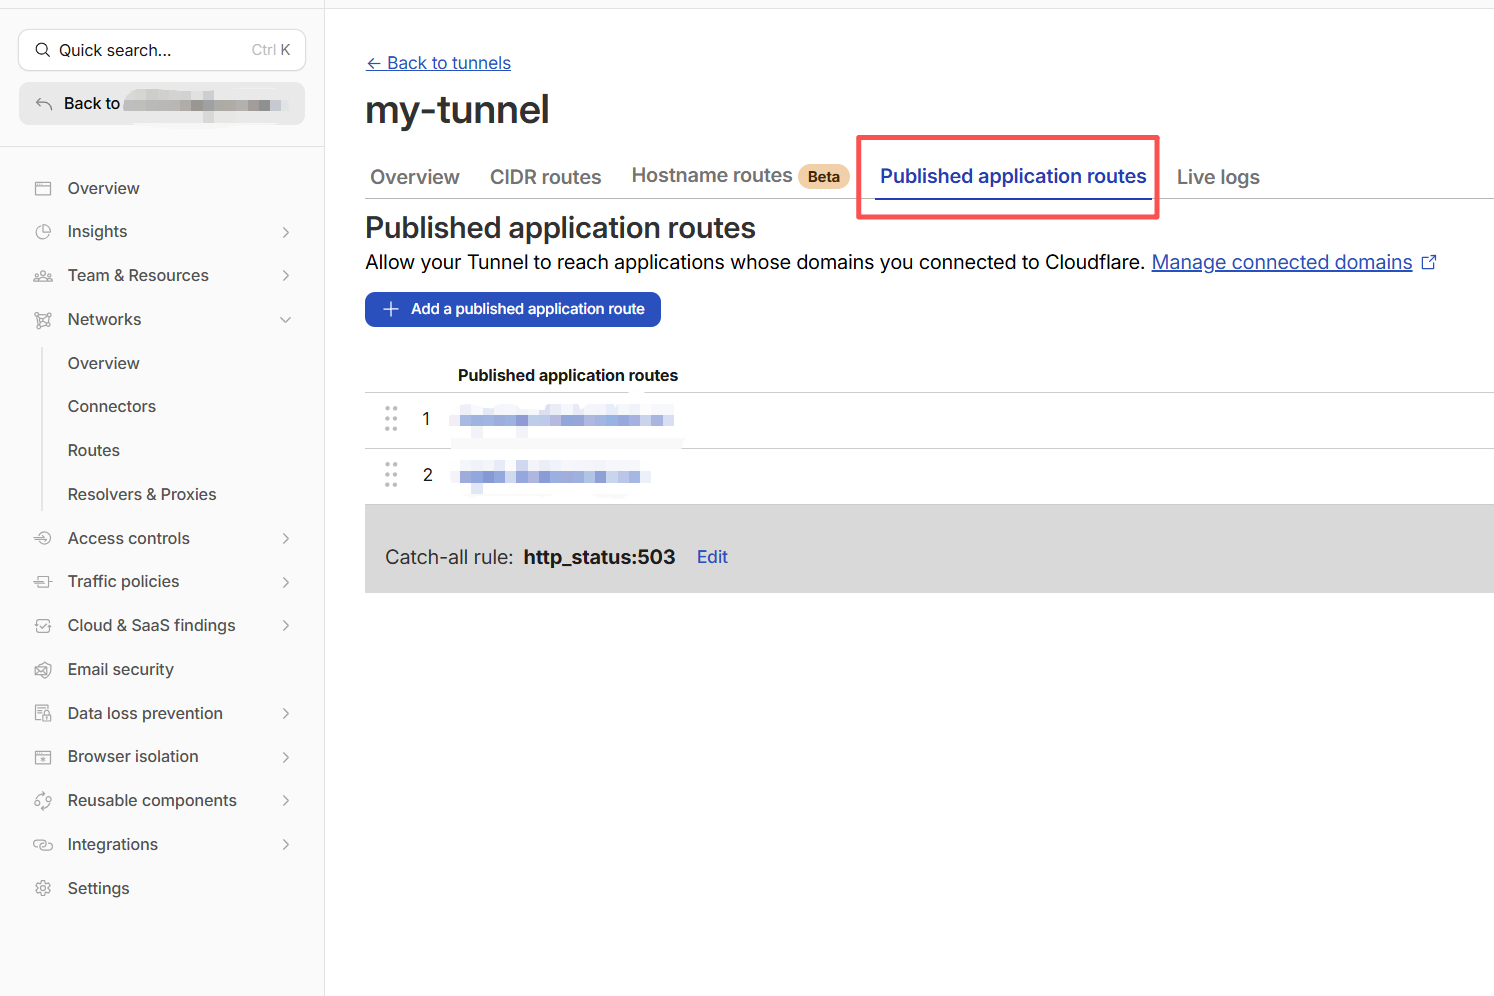
Cloudflare 会自动:
- 创建 CNAME
- 自动开启代理
- 自动绑定 Tunnel
- 自动启用 HTTPS
- 自动续期证书
使用Zero Trust 模式时,本地创建tunnel 后,只需运行
cloudflared tunnel run my-tunnel
不用指定config.yml路径
② 本地 config.yml 模式(不会自动创建 DNS)
本地模式需要编辑config.yml:
tunnel: my-tunnel
credentials-file: C:\Users\x13 2024\.cloudflared\2d1xx9-d0b2-48xx4-9xxd-d7dxxx53ae3.json

ingress:
  - hostname: mytemp.xxxxxxxx.cc
    service: http://localhost:55001
  - service: http_status:404
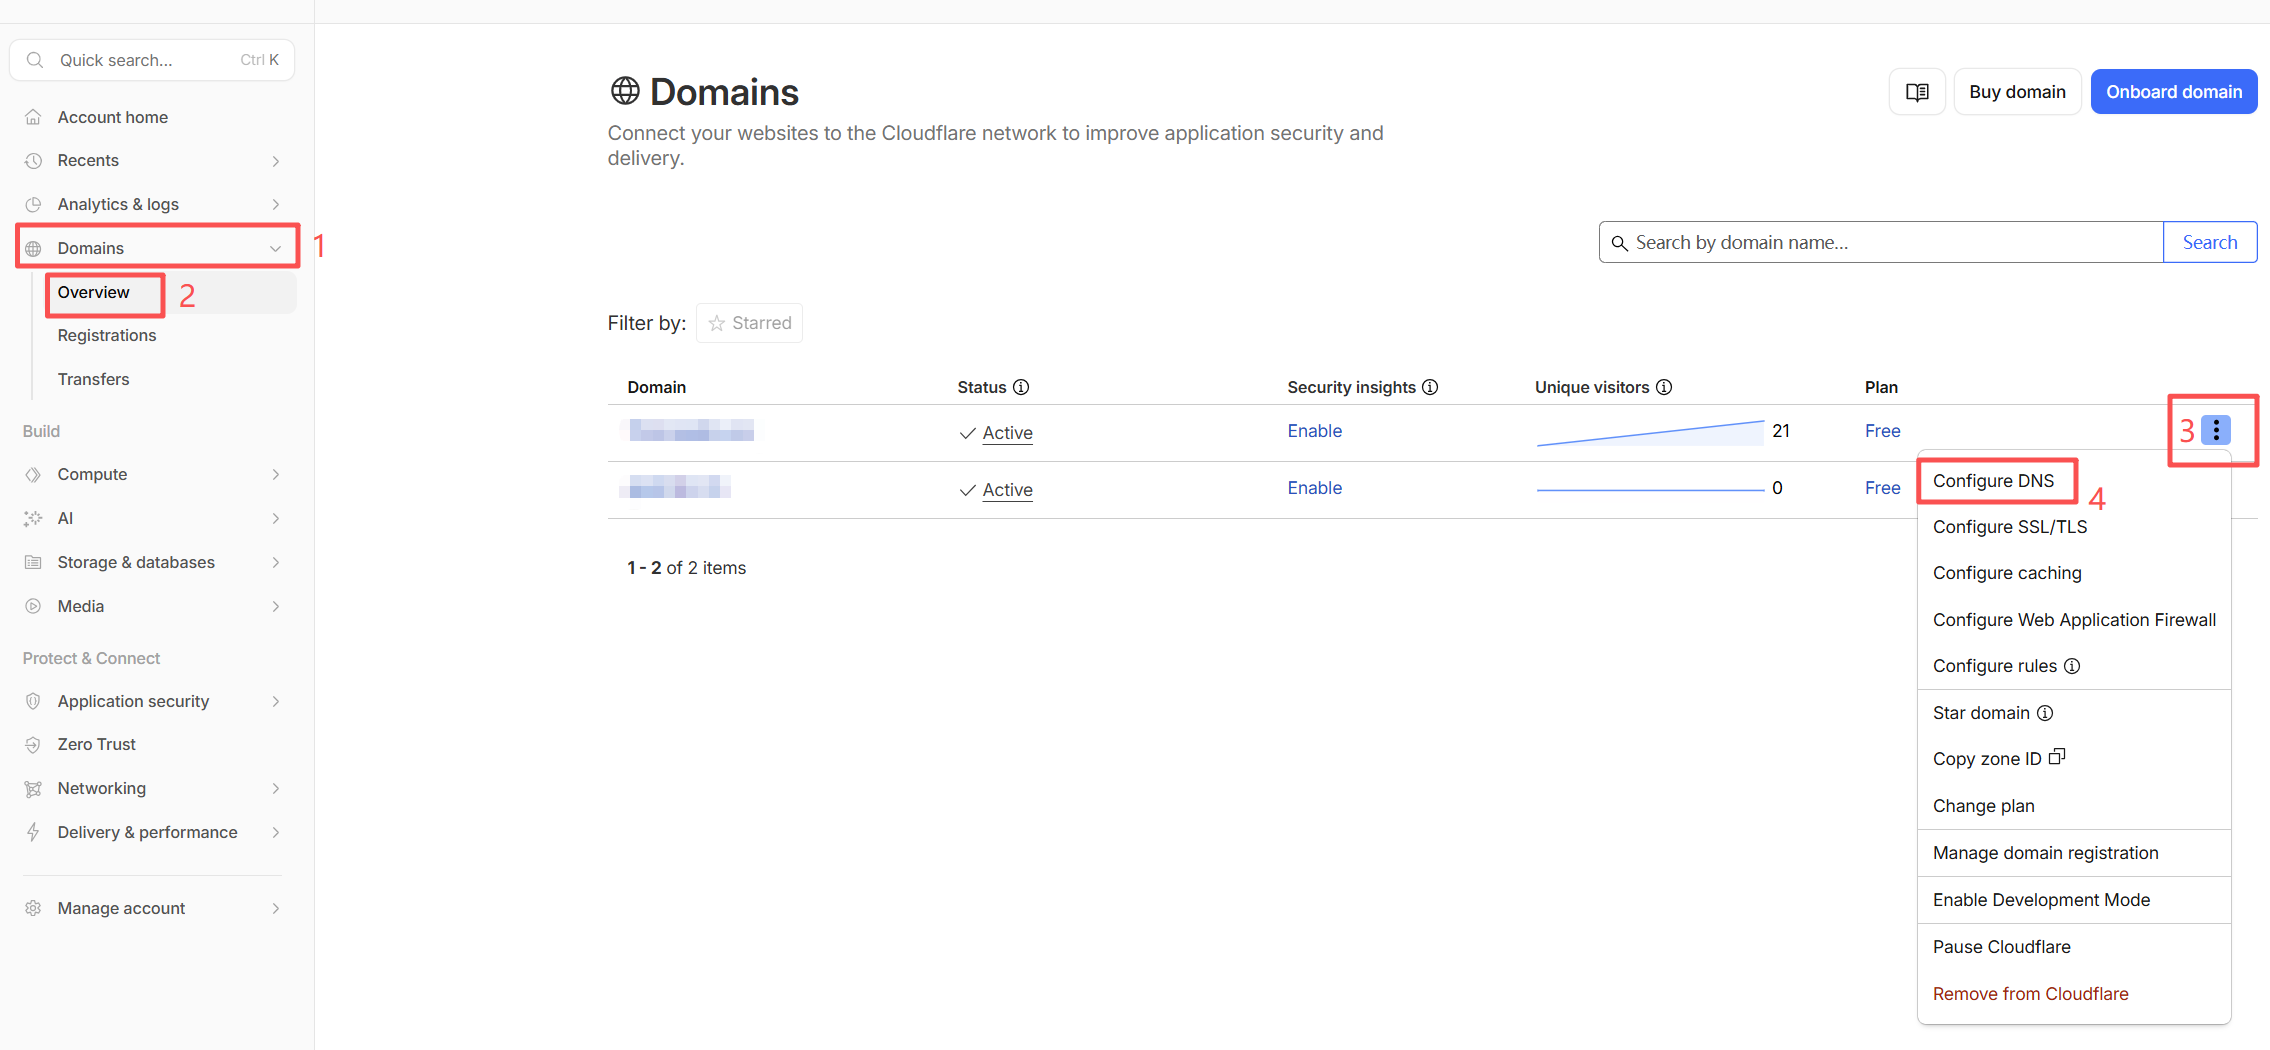
然后需要在Cloudflare添加对应DNS
路径:
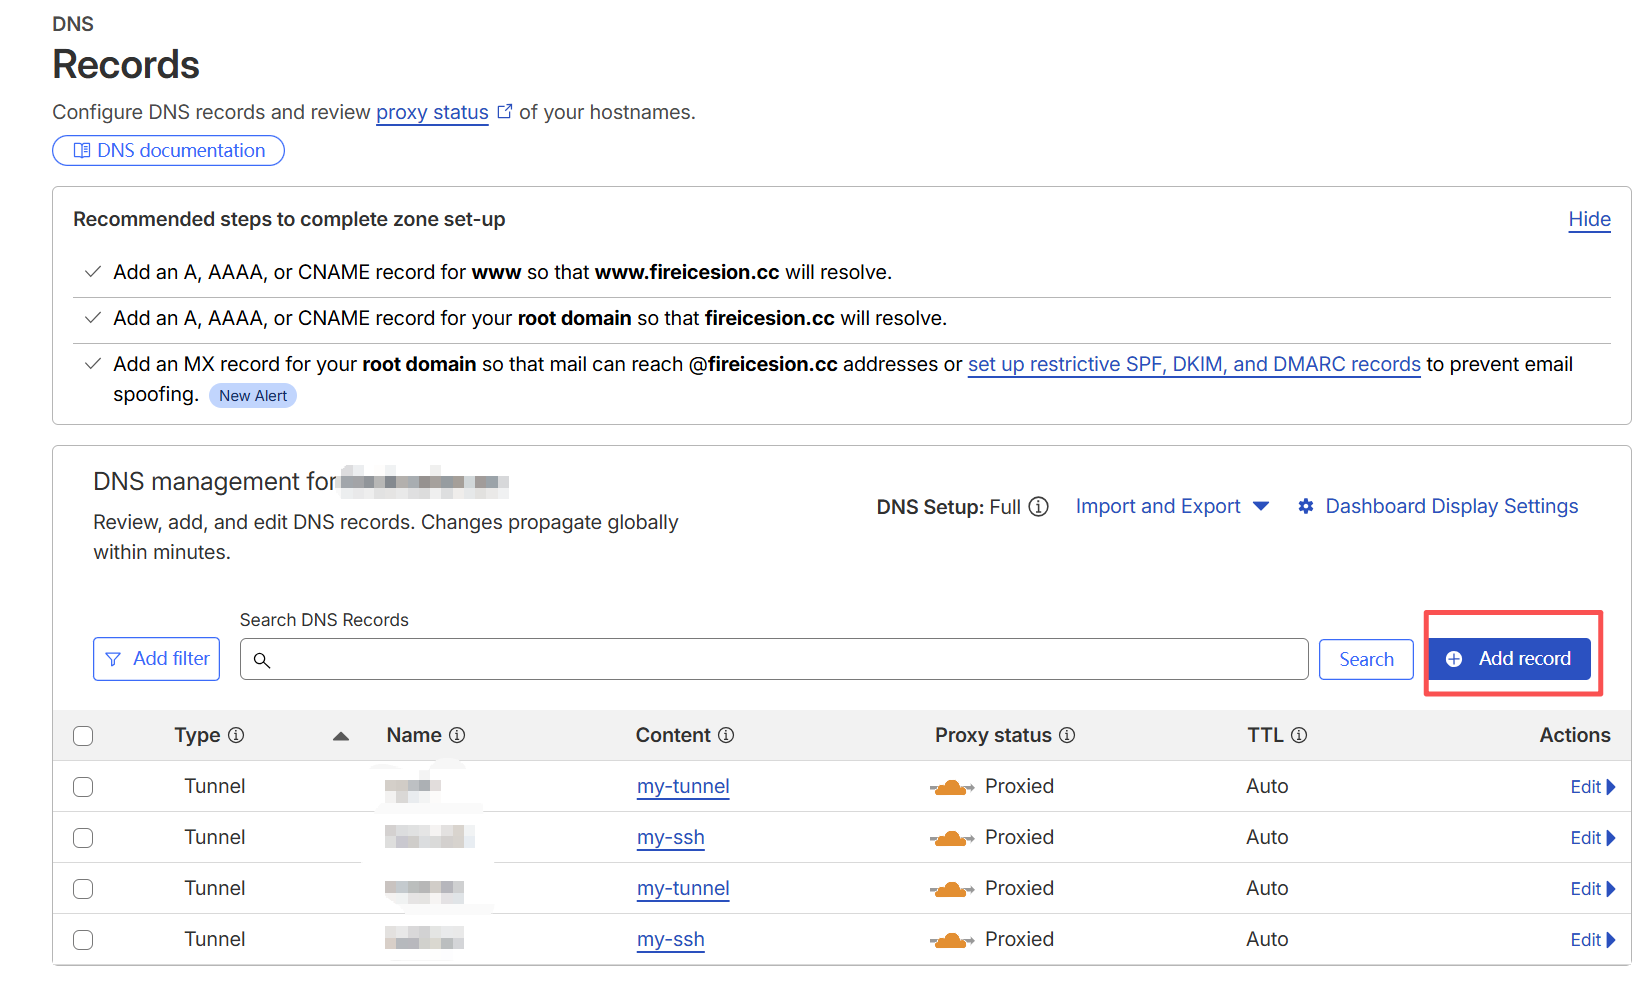
然后填入
所以你必须手动添加:
Type: CNAME
Name: ziyuming          #子域名前缀
Target: 2dxxa09-d0b2-4xx4-9fxxd-d7xxxae3.cfargotunnel.com      #本地首次创建cloudflared tunnel create  my-tunnel时生成的json文件名+  .cfargotunnel.com
使用本地模式时,本地创建tunnel 后,运行时需要指定config.yml的路径(或者把config.yml放入默认路径)
cloudflared tunnel --config "D:\tools\cloudflared\config.yml" run my-tunnel
评论 (0)
暂无评论,快来发表第一条评论吧!